ClawDBot is a self-hosted AI agent designed to do real work, not just talk. Unlike cloud chatbots that answer questions and forget context, ClawDBot runs on your own machine or server and can execute tasks, remember instructions, and automate workflows through chat commands.
This guide explains what ClawDBot is, how it works, how to install it step by step, and whether it’s worth using.
In This Post
What Is ClawDBot?
ClawDBot is an open-source, self-hosted AI assistant that acts like a personal automation agent. You control it through chat platforms, but behind the scenes it can run scripts, manage tasks, browse the web, and maintain long-term memory.
Instead of relying on third-party cloud dashboards, ClawDBot gives you full ownership of data, behavior, and execution. Everything runs locally or on infrastructure you control.
ClawDBot is built for:
Developers and engineers
Automation and productivity power users
Privacy-focused users who want local AI control
How ClawDBot Works
Self-Hosted Architecture
ClawDBot runs on your local computer, home server, or VPS. There is no mandatory cloud dependency. This architecture gives you:
Full data ownership
Lower privacy risk
Customizable permissions
You decide what the bot can access and what actions it can perform.
AI Models and Integrations
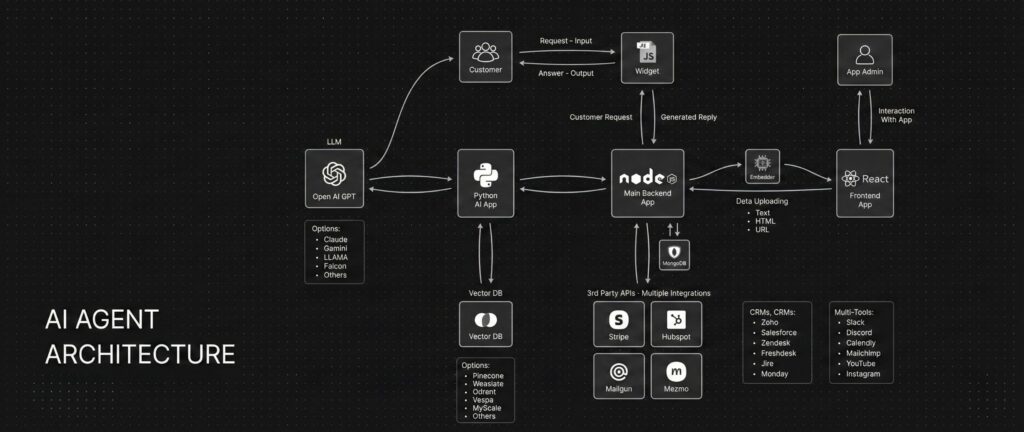
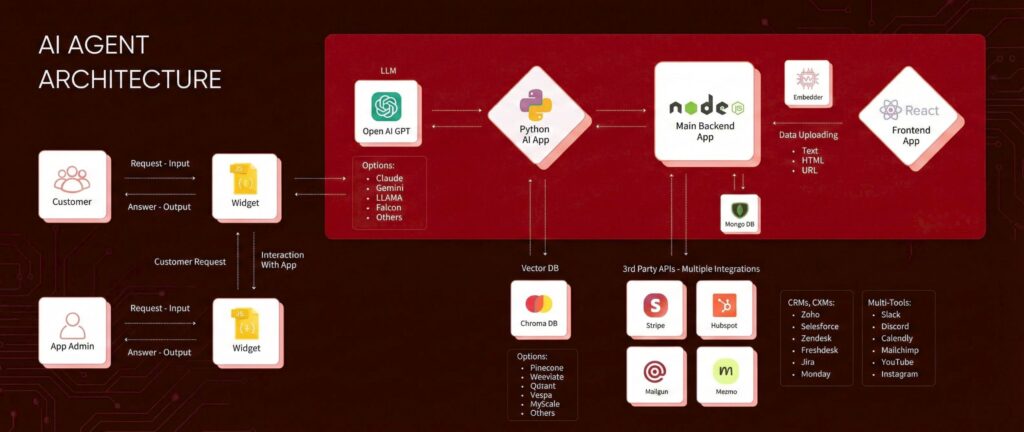
ClawDBot connects to large language models through APIs or local inference setups. The model handles reasoning, while ClawDBot handles execution.
You interact with it through messaging platforms, which act as a command interface rather than a traditional UI.
Persistent Memory and Task Execution
Unlike basic chatbots, ClawDBot stores context across sessions. It remembers:
Preferences
Past instructions
Ongoing tasks
It can also execute actions such as:
Running scripts
Scheduling tasks
Sending messages
Triggering workflows
This is what makes it an AI agent, not just a chatbot.
Key Features of ClawDBot
Automation and Workflow Control
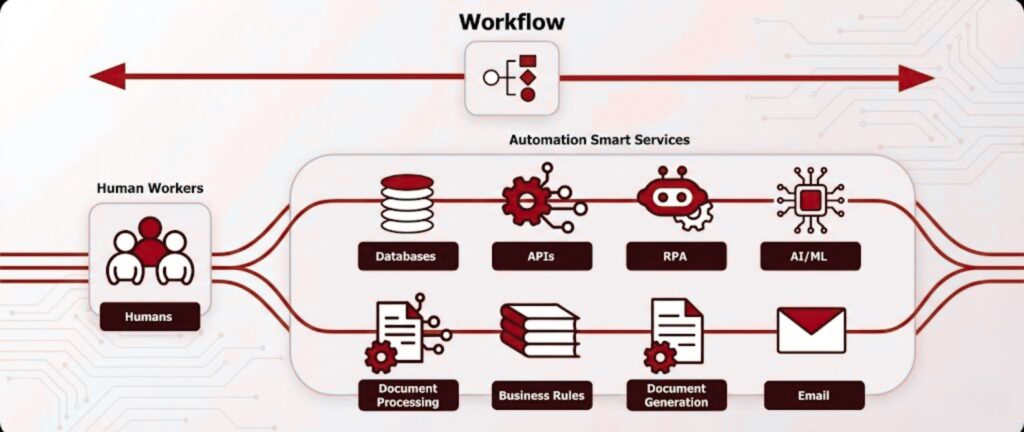
ClawDBot can trigger scripts, manage recurring tasks, and coordinate multi-step workflows based on chat commands.
Chat-Based Command Interface
You control everything through simple messages instead of dashboards or command lines.
Customization and Extensibility
Because it’s open source, you can:
Add plugins
Modify permissions
Extend capabilities with APIs
This flexibility is one of ClawDBot’s biggest advantages.
How to Install ClawDBot (Step-by-Step)
System Requirements
Windows, macOS, or Linux
Stable internet connection
Basic command-line familiarity
Sufficient RAM for AI model usage
A VPS or home server works well for 24/7 operation.
Prerequisites
Before installing ClawDBot, you typically need:
Python or Docker installed
Git for cloning repositories
API keys for your chosen AI model
A messaging platform account for control
Downloading ClawDBot
Clone the official repository from its source. Always verify the repository to avoid forks with malicious changes.
Installation Methods
Local Installation
Best for personal use and testing
Runs directly on your machine
Docker Installation
Easier dependency management
Cleaner updates and isolation
Server or VPS Deployment
Ideal for always-on automation
Requires stronger security configuration
Initial Configuration
After installation, you configure:
Environment variables
AI model credentials
Messaging platform integration
Permission limits for execution
This step defines what ClawDBot is allowed to do.
Running ClawDBot for the First Time
Once configured:
Start the service
Send a test command via chat
Confirm responses and task execution
If it responds and executes correctly, your setup is complete.
Common Installation Issues
Missing dependencies
Incorrect API keys
Permission errors
Messaging platform misconfiguration
Most issues come from skipped setup steps.
ClawDBot vs Traditional Chatbots
AI Agent vs Chatbot
Traditional chatbots respond to text. ClawDBot acts on instructions.
Chatbots are reactive. ClawDBot is proactive.
Control, Privacy, and Trade-Offs
Self-hosting gives control and privacy but requires:
Maintenance
Updates
Security awareness
This trade-off is worth it for advanced users.
Is ClawDBot Safe and Legal to Use?
ClawDBot itself is legal and open source. Safety depends on how you configure it.
Best practices include:
Restrict execution permissions
Avoid exposing it publicly
Use secure API key storage
Misuse comes from poor configuration, not the tool itself.
Who Should Use ClawDBot?
ClawDBot is ideal for:
Developers
Automation enthusiasts
Privacy-conscious users
AI experimenters
Who Should Avoid It
You should avoid ClawDBot if:
You want a plug-and-play assistant
You dislike managing updates
You are uncomfortable with command-line tools
Real-World Use Cases for ClawDBot
Personal AI assistant with memory
Workflow automation
Research and information management
Messaging-based system control
These use cases scale with your configuration.
Alternatives to ClawDBot
Alternatives include:
Other self-hosted AI agents
Cloud automation platforms
SaaS virtual assistants
Cloud tools are easier, but they sacrifice control and privacy.
Final Verdict: Is ClawDBot Worth Installing?
ClawDBot is powerful, flexible, and private. It is not beginner-friendly, but for the right user, it offers something most AI tools do not: real control.
If you want an AI that executes tasks and respects data ownership, ClawDBot is worth installing.
Conclusion
ClawDBot represents a shift from conversational AI to action-based AI agents. By running locally and integrating execution, memory, and automation, it fills a gap cloud chatbots cannot.
For users willing to invest time in setup and security, ClawDBot delivers long-term value and unmatched flexibility.
FAQs
Is ClawDBot free to use?
Yes. It is open source, though AI model APIs may have costs.
Do I need coding skills to use ClawDBot?
Basic technical knowledge is required, especially during setup.
Can ClawDBot run on a VPS?
Yes. VPS deployment is common for 24/7 automation.
Is ClawDBot safe for personal data?
Yes, if properly configured and secured.
How often does ClawDBot need updates?
Updates depend on development activity and your configuration.
Let’s be honest— AI can generate beautiful visuals, but when it comes to telling a proper story, most creators hit the same wall:
“Why does my character look different in every scene?”
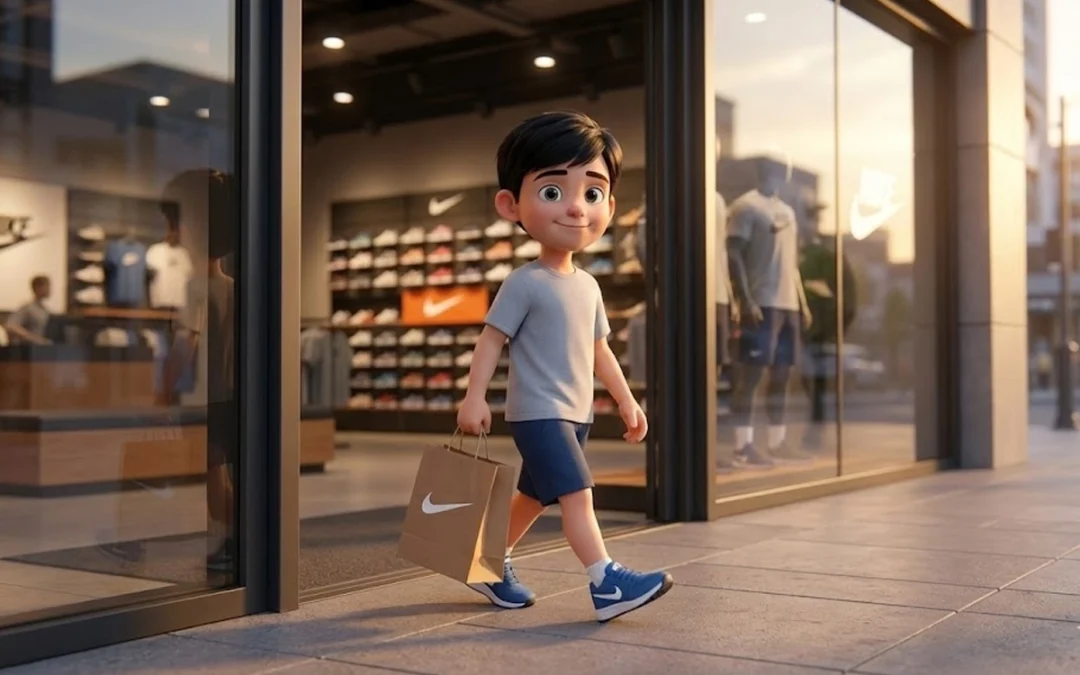
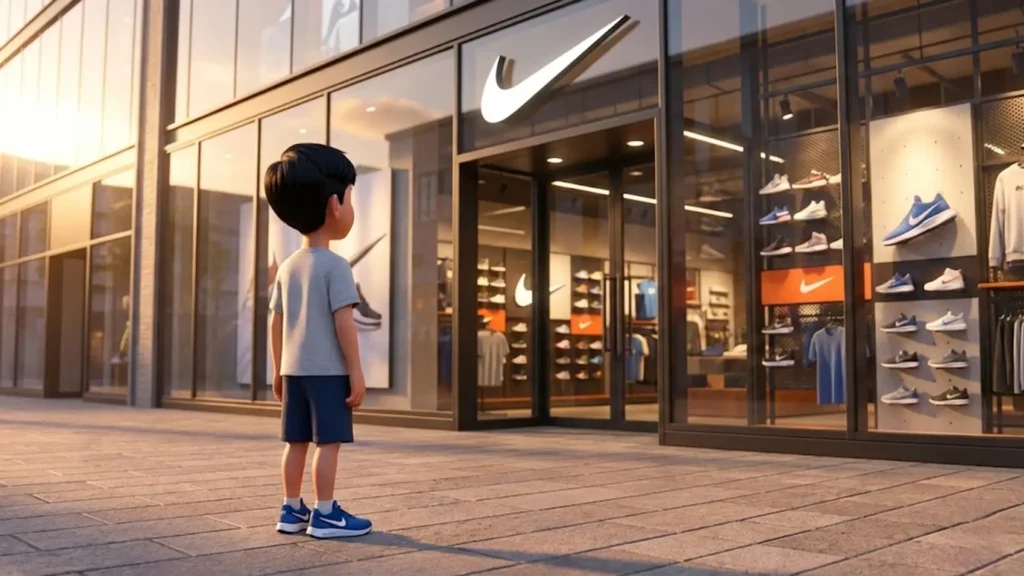
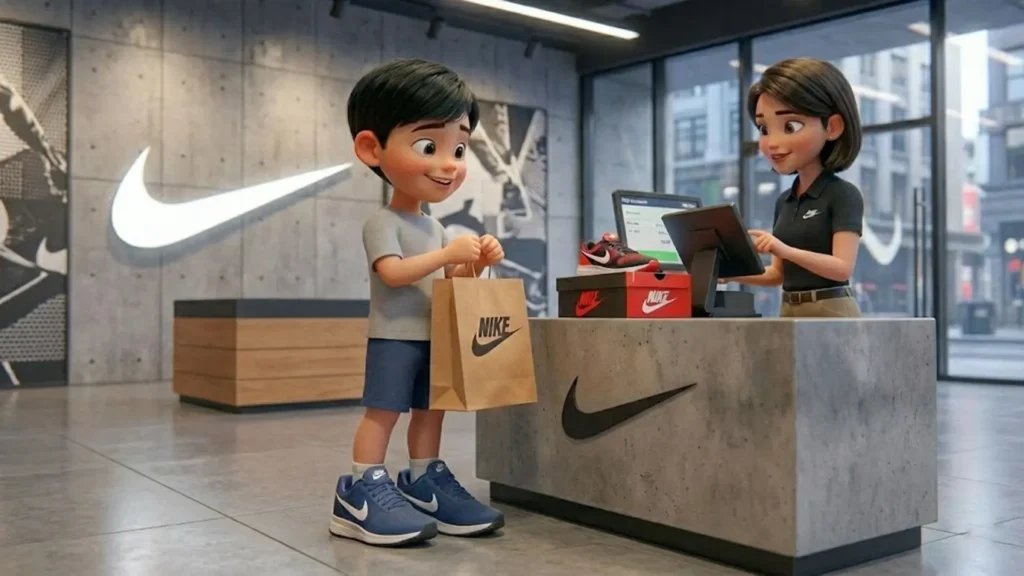
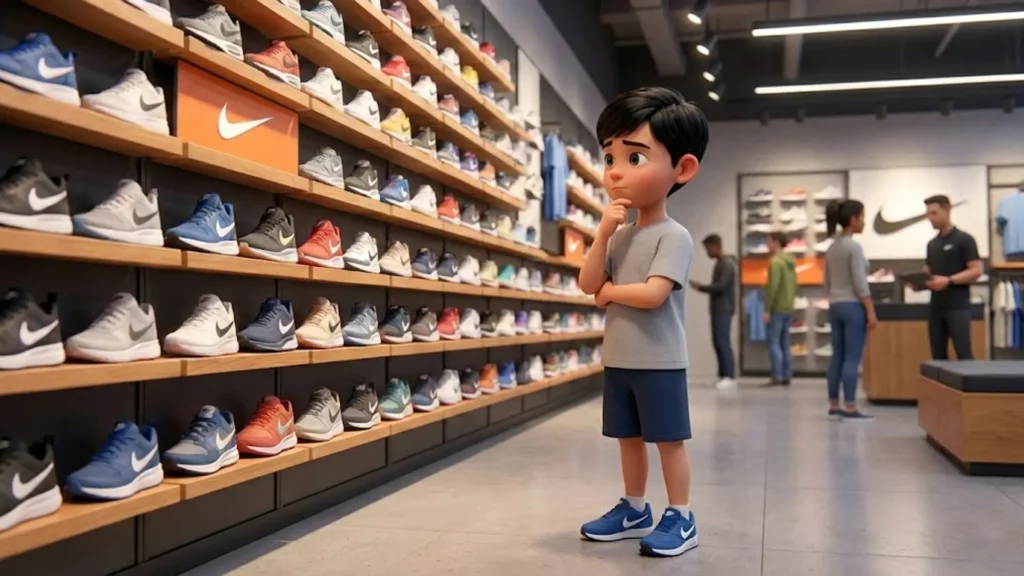
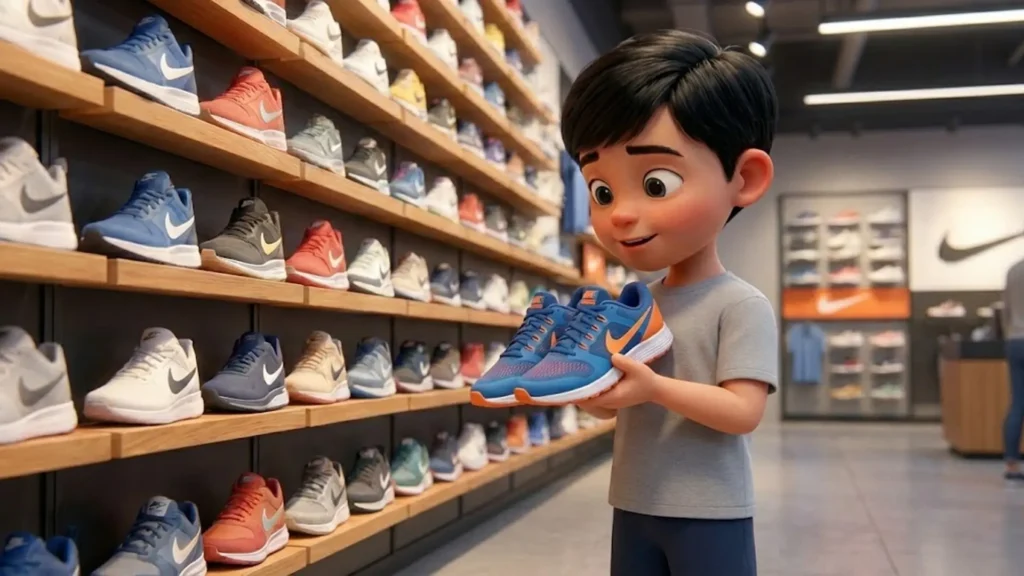
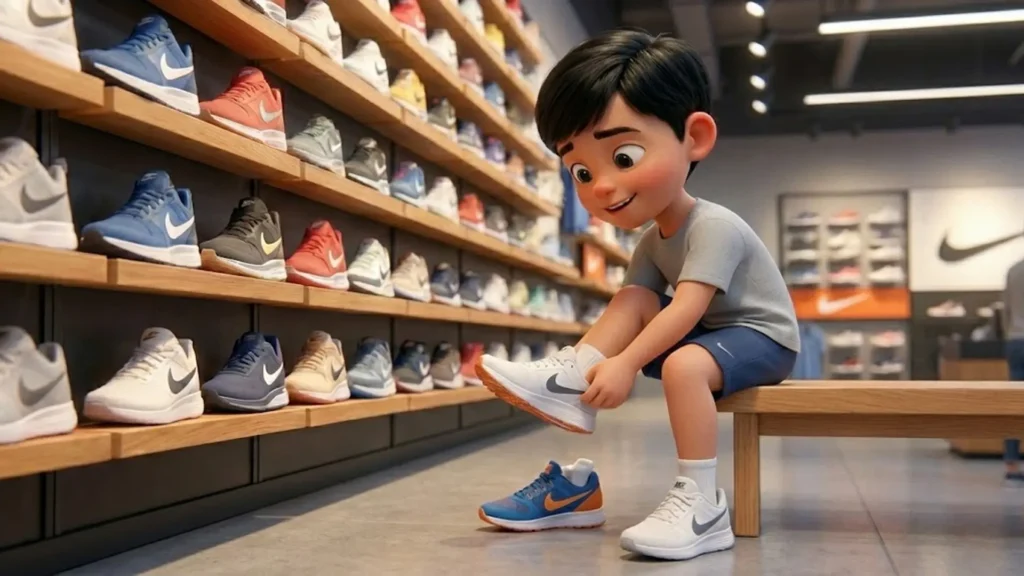
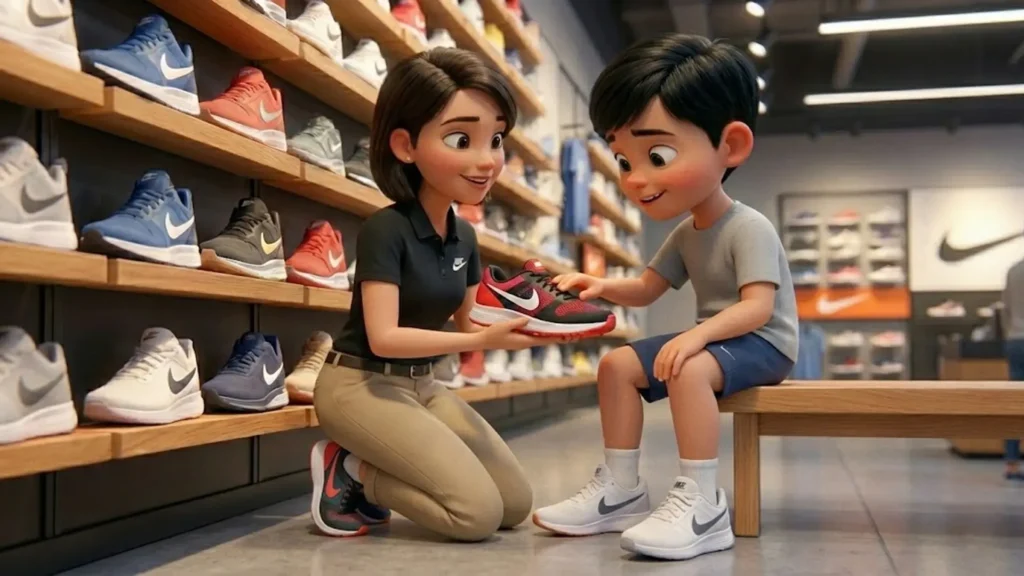
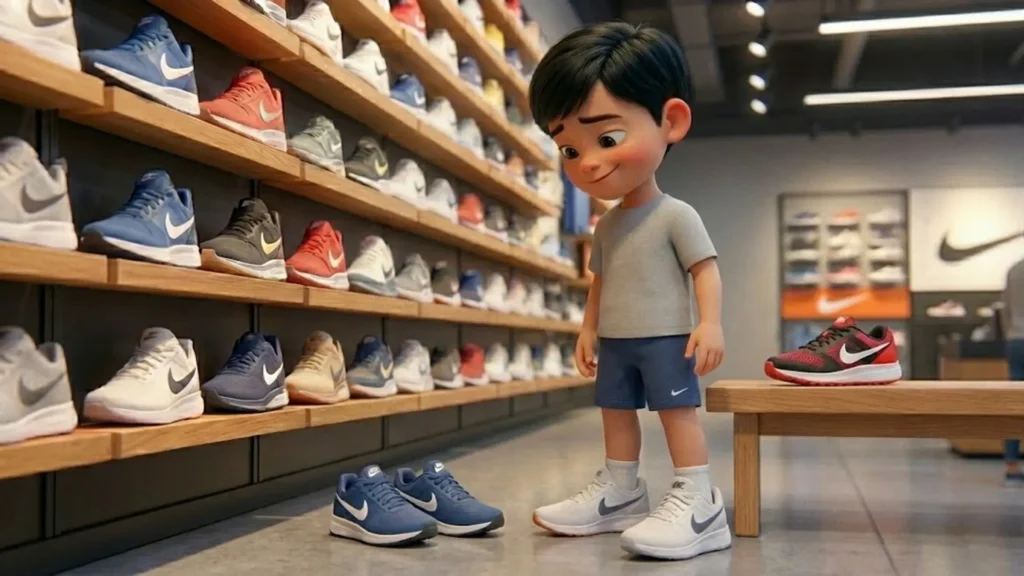
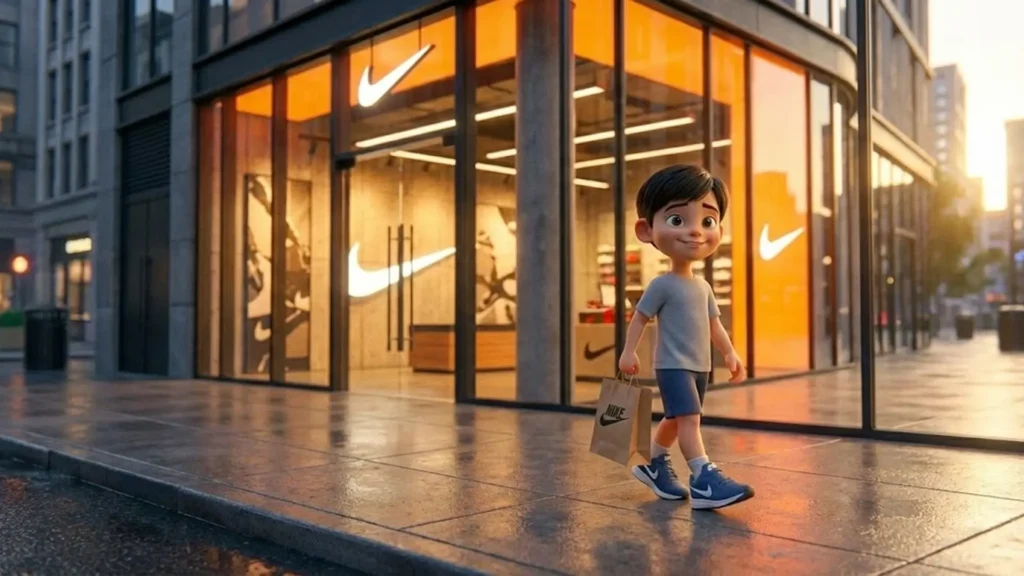
That exact problem is what led me to experiment with a cinematic retail storytelling workflow, using Nano Banana for images and Veo 3.1 for video motion.
In This Post
In this blog, I’ll walk you through exactly how I created a Nike store reel that feels:
Natural
Emotional
Cinematic
And most importantly… consistent
No film crew. No expensive gear. Just the right structure and AI discipline.
Why This Kind of Storytelling Works So Well
People don’t connect with products. They connect with moments.
A child walking into a Nike store, thinking, choosing, trying shoes, and walking out happy—that’s a story we’ve all lived in some form.
When you show that journey:
Viewers watch longer
Saves increase
Shares go up
The brand feels human, not salesy
That’s exactly what short-form platforms like Instagram reward.
A cinematic Nike store reel is a short-form video that tells a story using natural moments like entering a store, trying shoes, and walking out—styled like a mini film rather than an ad.
Which AI tools are used to create this reel?
This workflow uses Nano Banana for cinematic image generation and Veo 3.1 for turning those images into realistic videos with smooth motion.
How is character consistency maintained?
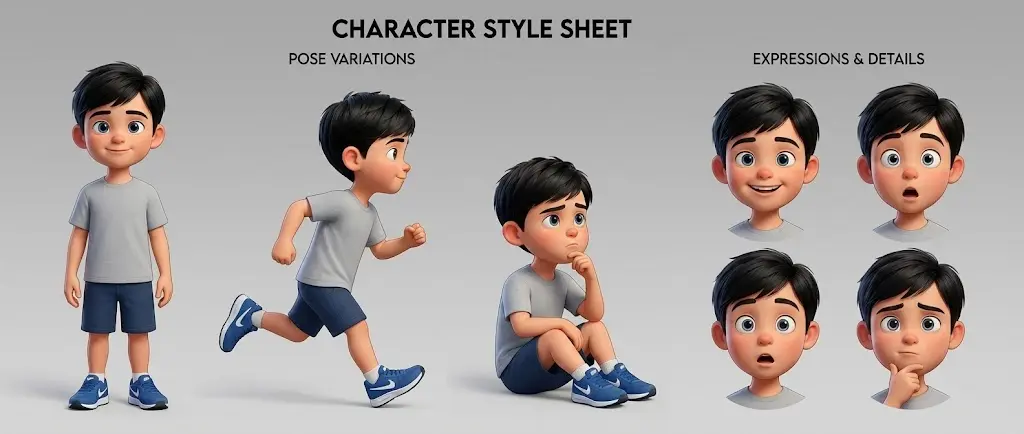
Character consistency is achieved using a Master Character Anchor, which is copied exactly into every image prompt to keep the same face, body, and clothing across scenes.
Why is character consistency important in AI reels?
Without consistency, AI reels feel disconnected and artificial. A consistent character helps maintain realism, emotion, and viewer trust.
Can beginners create this type of reel?
Yes. Beginners can create this reel by following a structured prompt workflow. No advanced editing skills are required.
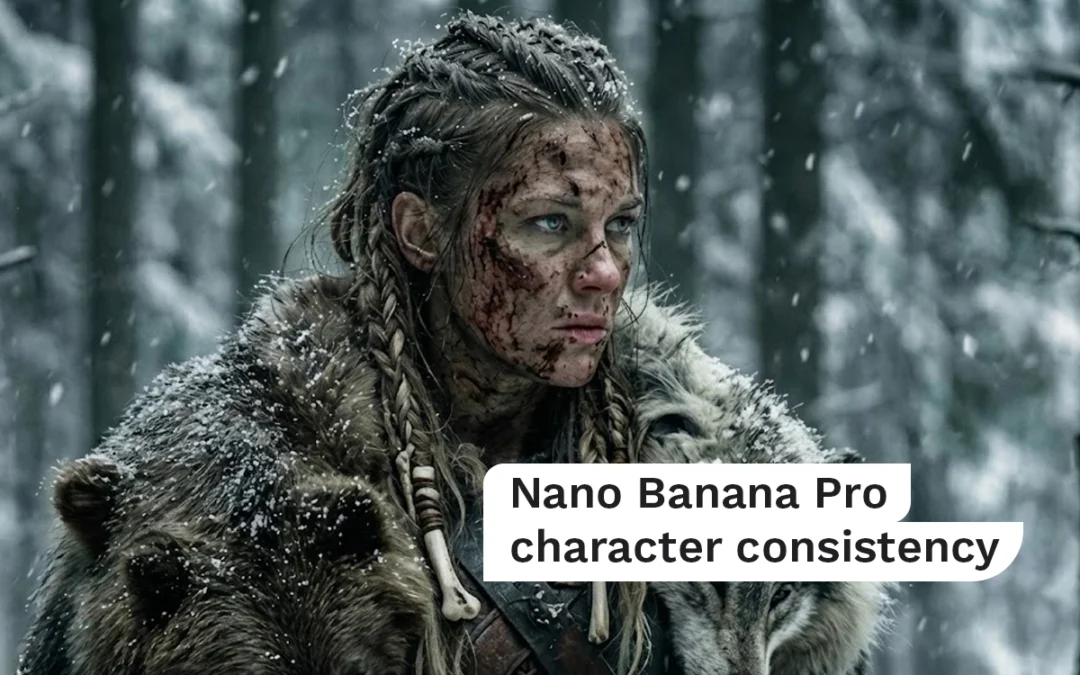
If your AI characters keep changing faces, outfits, or vibes every time you generate a new image, you’re not doing anything “wrong.” You’re just missing the core workflow that Nano Banana Pro expects you to use.
This beginner-friendly guide explains exactly how to maintain character consistency in Nano Banana Pro, why most people fail, and how to fix it permanently using foundation images, reference logic, and simple prompts.
No jargon. No guessing. Full control. Nano Banana Pro character consistency
In This Post
What Is Character Consistency in Nano Banana Pro?
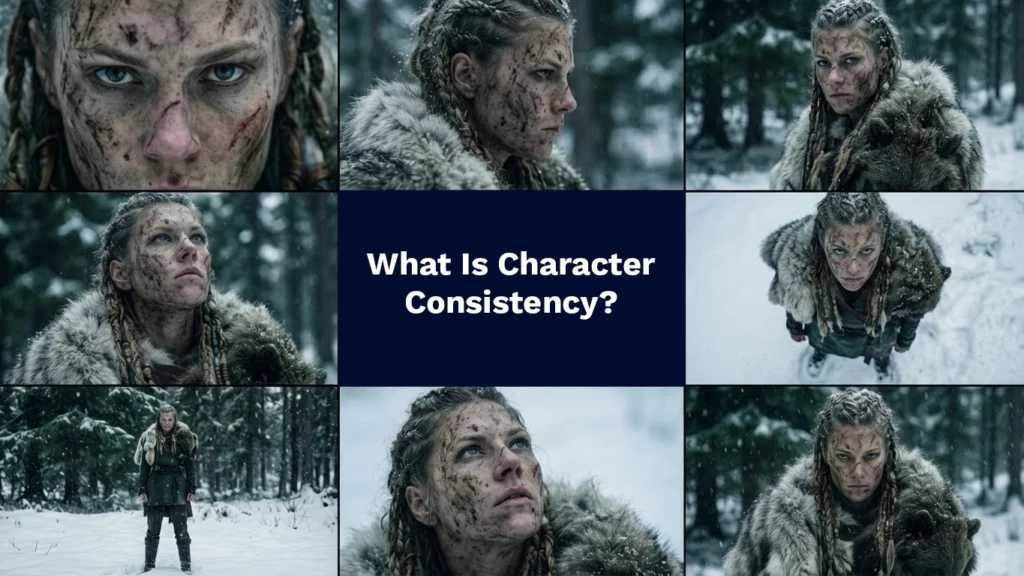
Character consistency means that the same character remains visually identical across:
Different camera angles
Different scenes
Different emotions
Different image generations
Images → video workflows
In Nano Banana Pro, consistency is not achieved by longer prompts. It’s achieved by how you use reference images.
If your character keeps changing, it’s because Nano Banana Pro is being forced to re-invent the character every time.
Why Most AI Characters Break (The Real Reason)
Here’s the hard truth:
Nano Banana Pro does not want you to “describe” your character repeatedly.
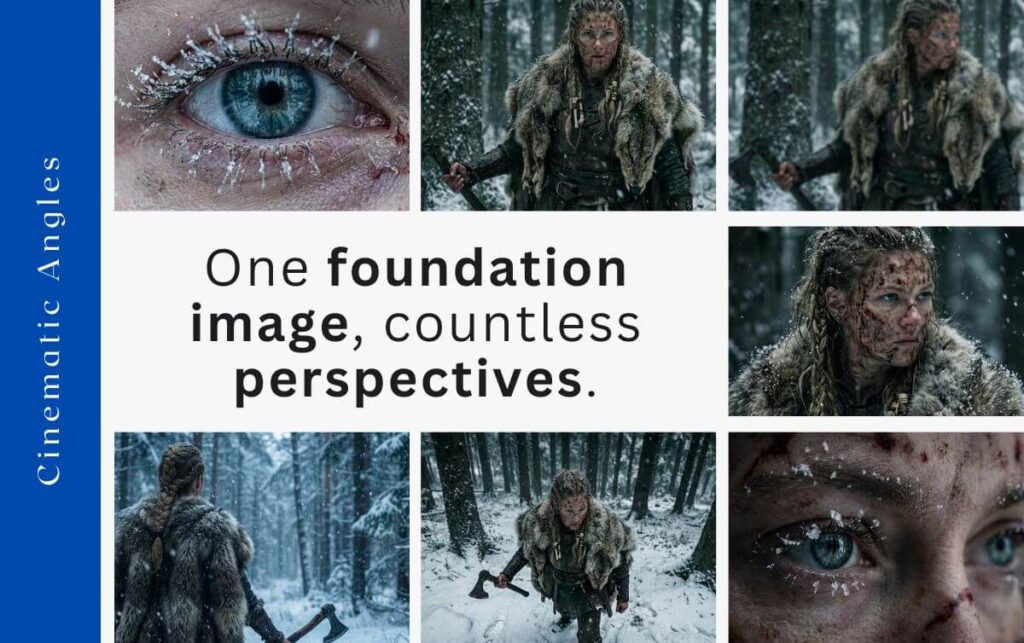
Three-quarter angle cinematic shot of image 1. Same outfit, same lighting, same environment. Camera slightly rotated to show perspective change without altering character identity.
Most beginners do this:
Add more adjectives
Add more physical details
Add more style words
Rewrite the prompt every time
That works in text-to-image tools. It fails in image-to-image systems like Nano Banana Pro.
Why?
Because Nano Banana Pro trusts images more than words.
The Foundation Image: The Single Most Important Concept
A foundation image is the original image that defines:
Face structure
Hair
Clothing
Body type
Lighting
Color palette
Environment
Style
This image becomes Image 1 in Nano Banana Pro.
Everything else you create must reference this image.
If you skip this step, character drift is guaranteed.
How Nano Banana Pro Actually Thinks
Nano Banana Pro works like this:
It reads Image 1
It extracts visual identity
It treats that identity as ground truth
It applies your new instructions on top of that identity
If you don’t give it Image 1, it fills the gaps itself.
That’s why characters randomly change.
The Correct Workflow for Character Consistency
Step 1: Create One Strong Foundation Image
Your foundation image must be:
Clear
High-quality
Well-lit
Visually distinct
Emotionally neutral
Avoid extreme expressions or motion. You want a stable reference, not a dramatic moment.
Step 2: Lock the Foundation Image as Image 1
Every new generation should:
Include the foundation image
Reference it explicitly
Avoid redefining the character
Your prompts should assume the character already exists.
Look, I’ve been a designer for over a decade. I’ve ground out projects for Lots of brands. I know the struggle of spending days on tasks that should take hours.
But recently? Everything changed.
I’ve been testing Nano Banana Pro paired with Gemini 3, and I’m not throwing this term around lightly: it is absolute God Mode for designers. We are talking about five breakthrough features that take tasks that used to take me three full days and finishing them in seconds.
If you want to know how to create epic designs, perfect text, and mind-blowing 4K renders, keep reading. Here is how Nano Banana Pro changes graphic design forever.
Nano Banana Pro is an advanced multimodal AI design model capable of reasoning across text, images, layout, and visual hierarchy. When grounded by Gemini 3, it becomes far more than an image generator.
It understands: – What text means, not just how it looks – How images relate spatially and semantically – How design systems stay consistent – How real-world information should appear visually
This combination moves AI design from generation to design intelligence.
Why Gemini 3 Changes Everything
Gemini 3 provides grounding, reasoning, and verification.
Instead of guessing, Nano Banana Pro can: – Research before designing – Validate information after output – Understand instructions at a structural level
This drastically reduces hallucination and increases professional reliability.
Breakthrough 1: Perfect Text Rendering With Real Content
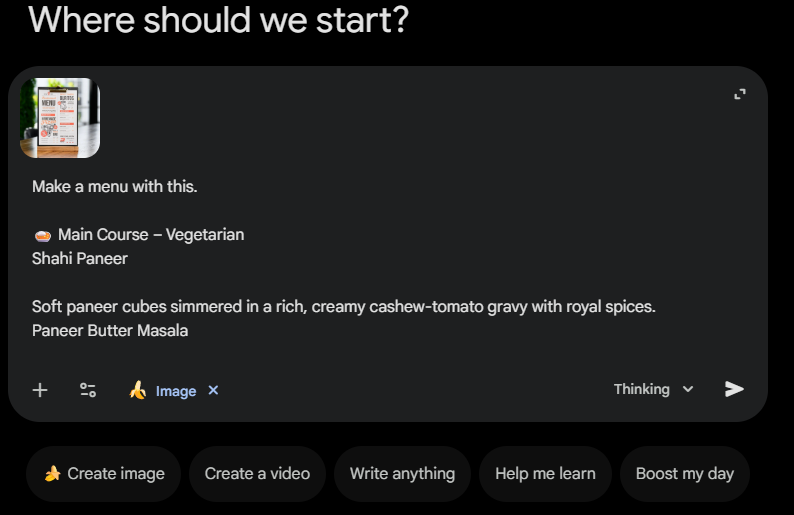
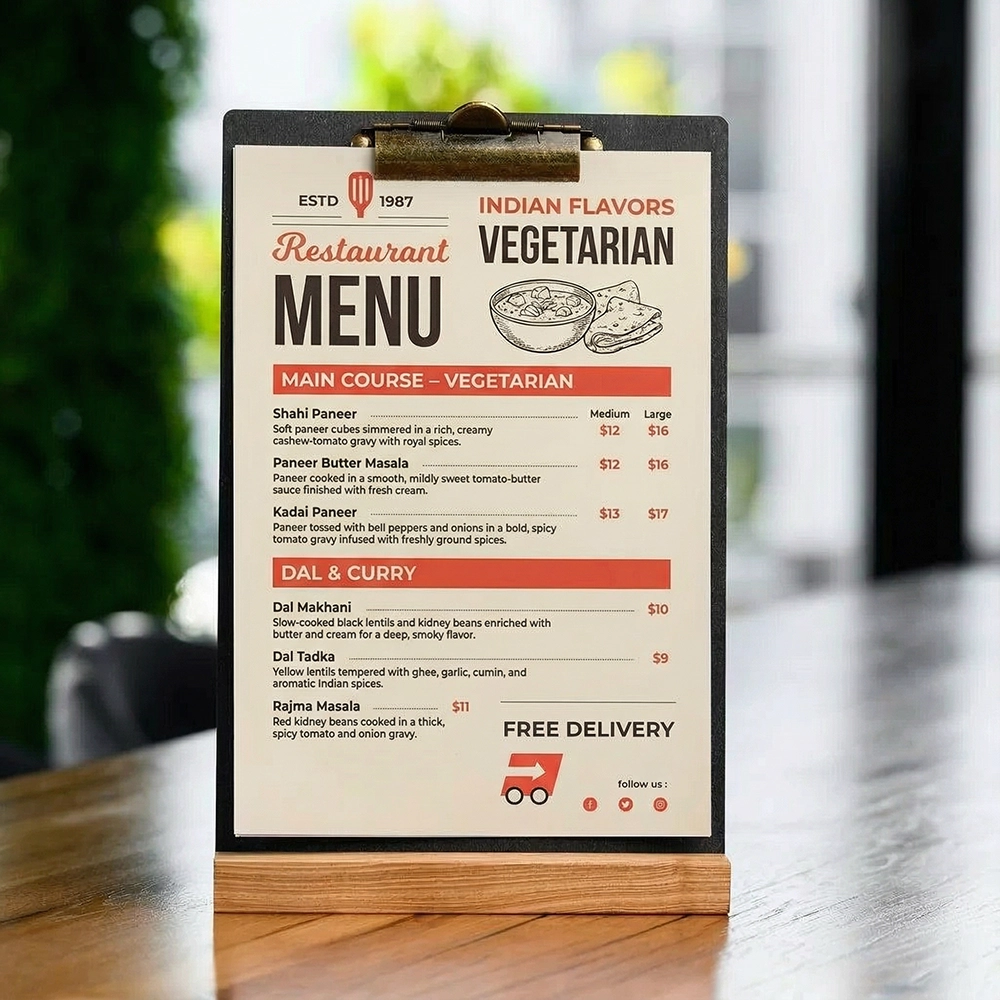
This is the most important update because it allows us to output highly dense, specific pieces of text. I tested this by feeding it a prompt for a street food menu with 10 clean, modern items.
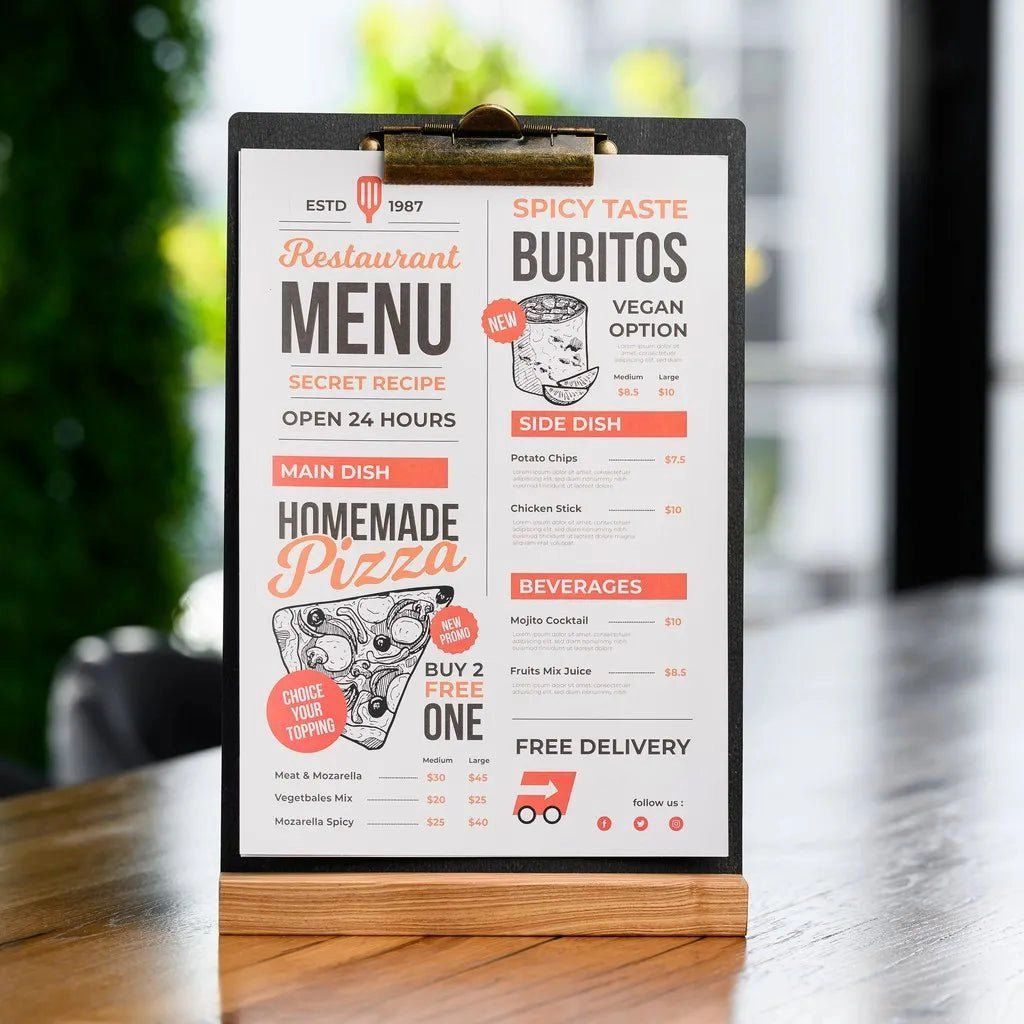
I gave it an image reference and said,
Prompt: “Make a menu with this.
🍛 Main Course – Vegetarian
Shahi Paneer Soft paneer cubes simmered in a rich, creamy cashew-tomato gravy with royal spices.
Paneer Butter Masala Paneer cooked in a smooth, mildly sweet tomato-butter sauce finished with fresh cream.
Kadai Paneer Paneer tossed with bell peppers and onions in a bold, spicy tomato gravy infused with freshly ground spices.
Dal Mak….“
The result?
Zero typos.
Perfect formatting.
Instant output.
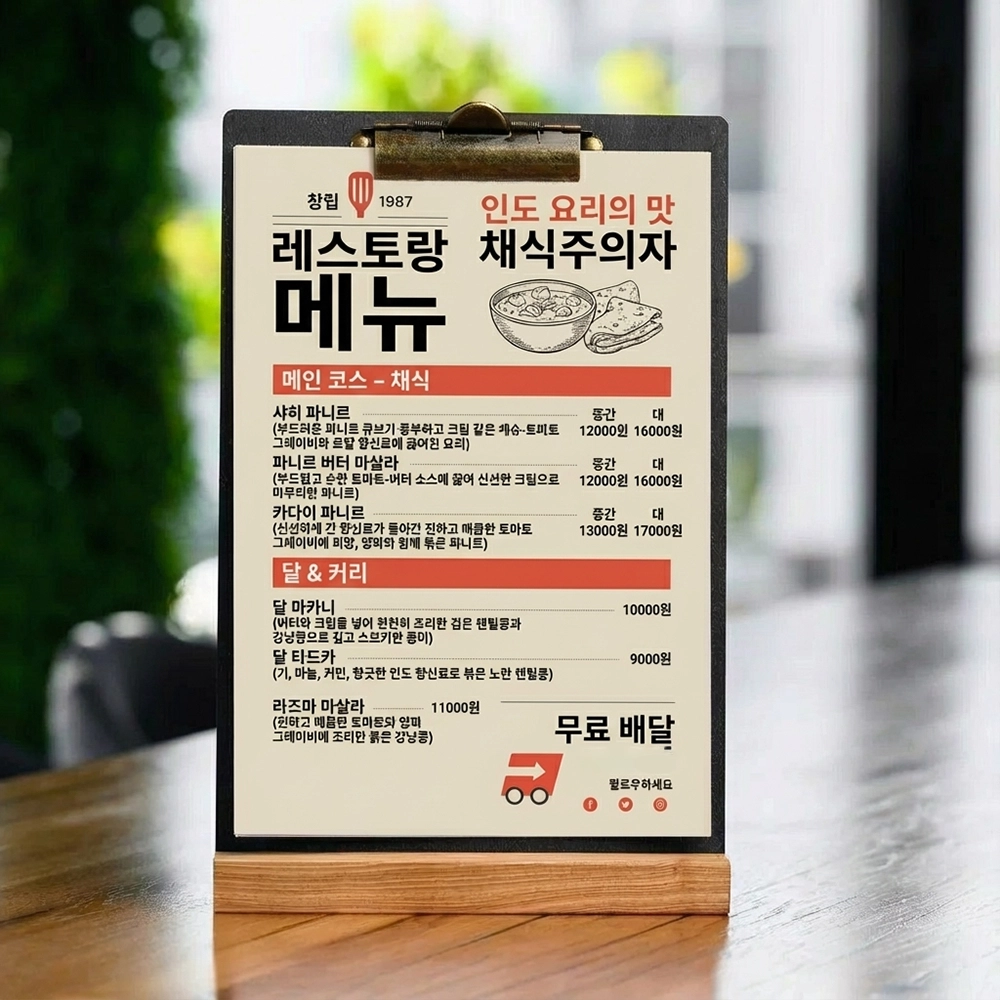
The Translation Hack Here is where it gets crazy. You can take that same design and ask it to translate it instantly while keeping the exact design aesthetic.
I asked it to translate the menu to Korean. Now, my Korean is a little rusty, but it performed the task with absolute expertise. Imagine the time you save designing for international markets without having to rebuild the layout from scratch.
Breakthrough 2: Infinite Typography and Custom Font Creation
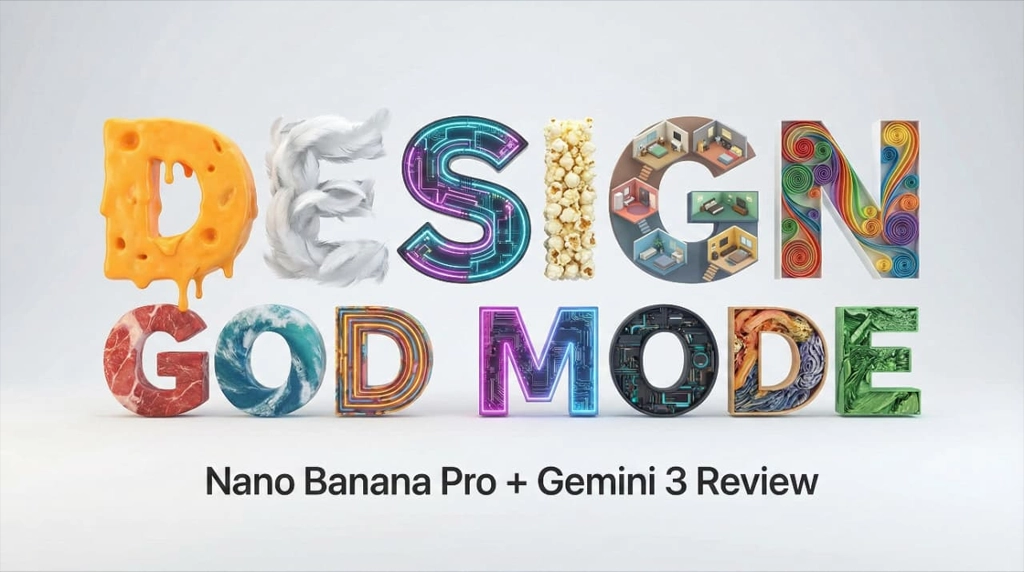
Nano Banana Pro can generate typography as designed objects, not font files alone.
I played around with this and the results were stunning:
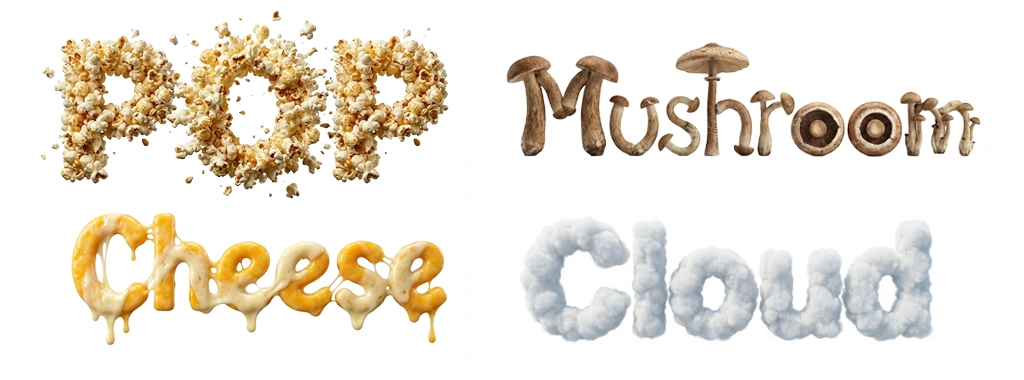
The word “Cheese” made of melting cheese.
“Pop” made of exploding popcorn.
“Mushroom” using the mushroom cap to form the letter ‘O’.
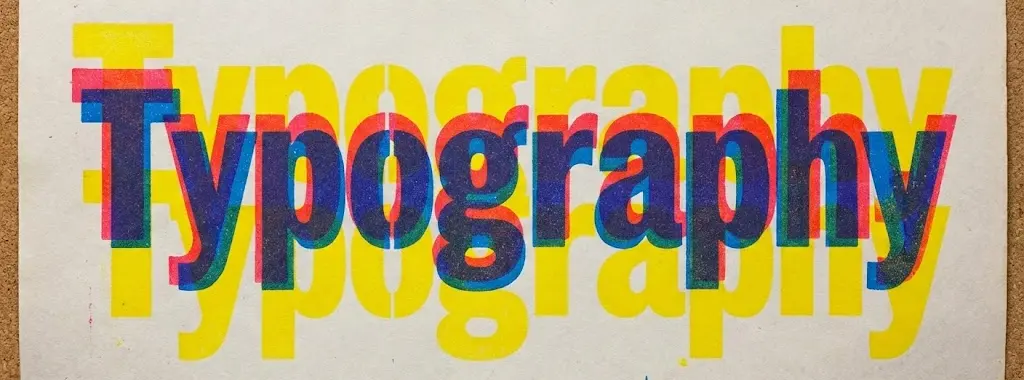
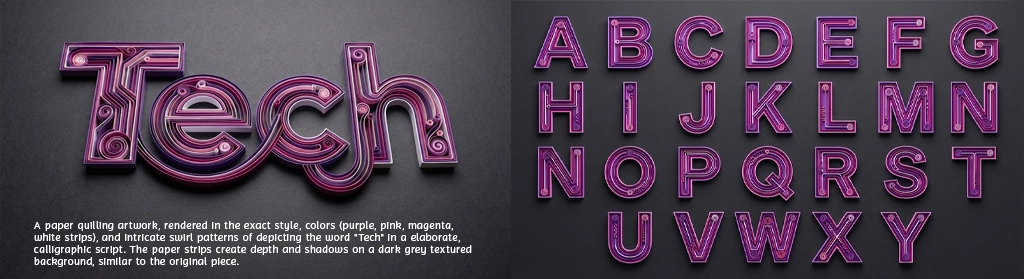
We can even do “impossible” shapes or specific artistic styles like paper quilling (rendered in purple, pink, and magenta) or Rizograph print styles with that beautiful, authentic grain.
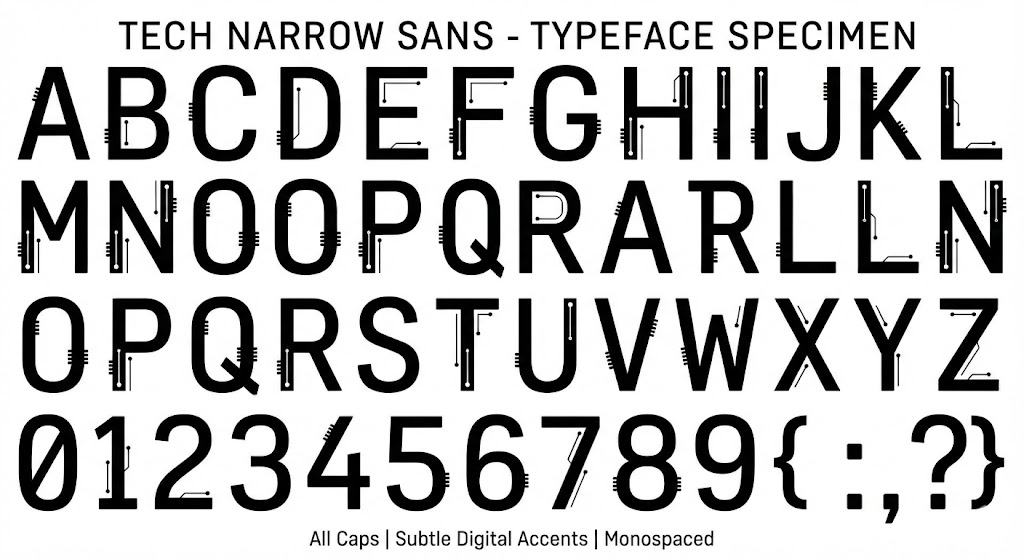
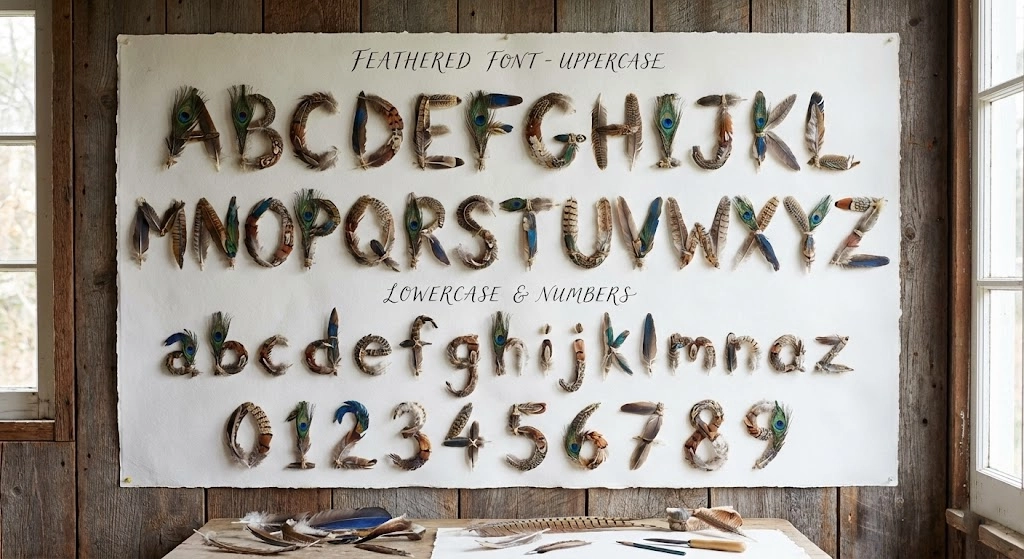
Pro Tip: You can generate entire font sheets. I made a “feathery font” and a futuristic tech font in seconds. In the past, creating a custom brand font would have taken me weeks.
This allows rapid creation of brand-specific typographic systems that previously took weeks.
Breakthrough 3: Multi-Image Reference Reasoning (Up to 14 Images)
Nano Banana Pro can ingest up to 14 reference images and reason across them contextually.
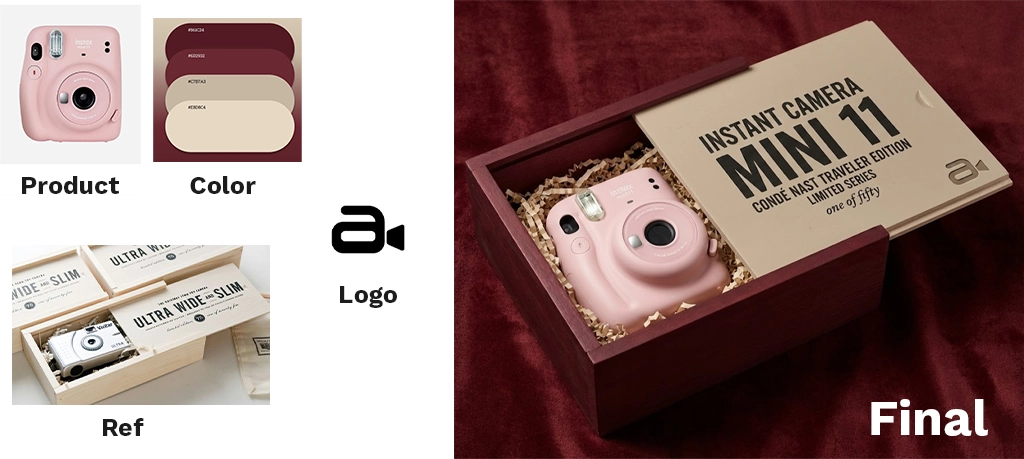
I wanted to design premium product packaging artwork for a new physical product.
I uploaded four reference images:
A photograph of the actual product (shape, proportions, materials).
A luxury packaging design from a different brand (typography, spacing, hierarchy).
A color palette + texture reference (matte black, foil accents).
A brand symbol / logo used on older collateral.
Then I instructed the AI:
“Create a premium box packaging design using the product’s exact shape from Image 1, apply the visual language and typography system from Image 2, use the color and material finish from Image 3, and integrate the logo from Image 4 subtly on the front panel.”
Image 2 = design system reference (grid, font scale, whitespace)
Image 3 = material & finish direction
Image 4 = brand identity asset
It did not randomly blend visuals.
It:
Placed branding with intent and hierarchy
Preserved product proportions
Applied the correct typography rhythm
Used materials realistically (foil, emboss, matte)
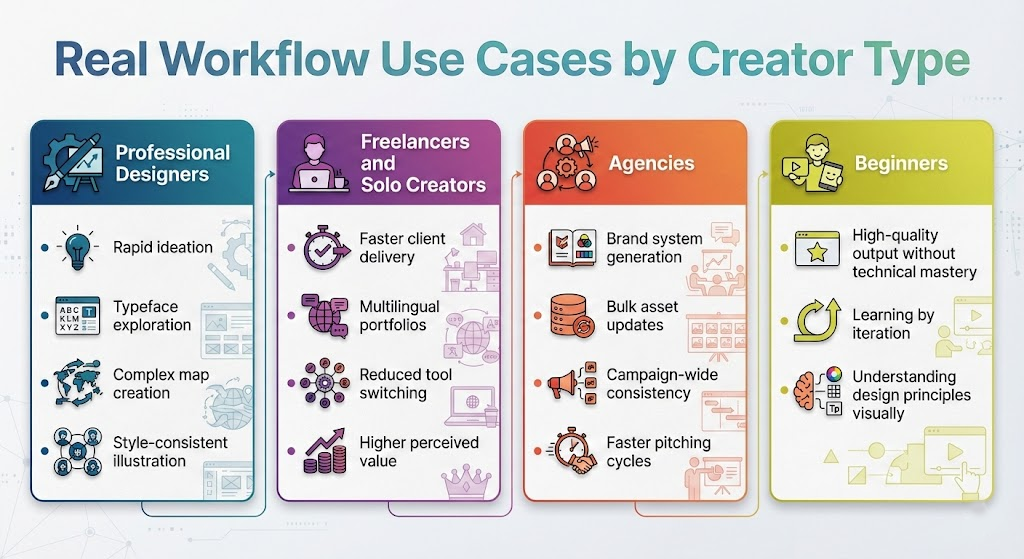
Real Workflow Use Cases by Creator Type
Professional Designers
Rapid ideation
Typeface exploration
Complex map creation
Style-consistent illustration
Freelancers and Solo Creators
Faster client delivery
Multilingual portfolios
Reduced tool switching
Higher perceived value
Agencies
Brand system generation
Bulk asset updates
Campaign-wide consistency
Faster pitching cycles
Beginners
High-quality output without technical mastery
Learning by iteration
Understanding design principles visually
Layer Control and Practical Workarounds
Full layer editing is limited, but usable workarounds exist.
You can: – Export isolated elements – Use white or green backgrounds – Rebuild layers in traditional tools
This allows Nano Banana Pro to fit into professional pipelines today.
Advanced Applications: Maps, Logos, and Systems
Nano Banana Pro excels at traditionally complex tasks: – Illustrated and recolored maps – GTA-style city layouts – Negative space logos – Symbol-letter hybrids
It understands both readability and symbolism.
Meta Prompting: Designing the Prompt Before the Design
A powerful workflow: 1. Write a rough idea 2. Ask Gemini 3 to refine it 3. Send the refined prompt to Nano Banana Pro
This dramatically improves consistency and output quality.
From Single Images to Design Systems
When used inside design agents, Nano Banana Pro scales to full brand systems.
You can generate and update: – Logos – Websites – Social media assets – Posters – Merchandise
Changes can propagate across all assets via natural language.
Industry Implications
This shifts the designer’s role.
Execution is automated. Direction becomes critical. Taste becomes leverage.
The designer becomes a systems thinker, not a production machine.
Nano Banana Pro is an advanced AI design model that generates high-resolution visuals with accurate text, custom typography, and multi-image reasoning, especially when paired with Gemini 3.
How does Gemini 3 improve AI graphic design
Gemini 3 grounds AI-generated designs in real-world knowledge, improves prompt understanding, reduces hallucinations, and enables verification of text and data inside images.
Is Nano Banana Pro better than Midjourney or DALL·E
Nano Banana Pro focuses on accurate text, layout control, and design systems, while tools like Midjourney emphasize artistic imagery over production-ready design.
Can Nano Banana Pro be used for professional client work
Yes. It is suitable for branding, typography, infographics, maps, and concept design when combined with human review and verification.
What are the limitations of Nano Banana Pro
Current limitations include limited native layer editing and the need for human verification of critical data, despite Gemini 3 grounding.
There is something timeless about Christmas portraits. They capture warmth, joy, and emotion in a way no other season can. From glowing lights to cozy textures, holiday portraits tell a story people want to revisit year after year.
The problem is consistency. Many holiday portraits feel staged, flat, or overly artificial.
That is where Gemini changes everything.
With Google’s latest image model, you can create Christmas portraits that feel cinematic, personal, and professionally lit without a studio or complex setup.
This guide gives you 15 ready-to-use Gemini prompts designed specifically for realistic, high-impact Christmas portraits.
In This Post
How to Create Your Perfect Christmas Portrait With Gemini
Before using the prompts, follow this exact setup for best results.
Copy and paste each prompt without changing wording for consistent output quality.
15 Gemini Christmas Portrait Prompts
1. Cozy Tabletop Glow Portrait
Create a warm Christmas portrait of a young woman sitting at a wooden table, leaning slightly forward with relaxed hands resting on the surface. She wears a soft neutral knit sweater and a red Santa hat. The table has a subtle reflective finish catching soft light. A Christmas tree glows gently behind her with warm lights blurred into bokeh. Her expression is calm, confident, and natural. Lighting is soft and cinematic. Aspect ratio 4:5.
2. Minimal Beauty With Holiday Accent
Create a clean Christmas beauty portrait photographed from above. A young woman lies on a white textured surface with her hair spread naturally around her head. She holds a single red Christmas ornament near her cheek. Her expression is peaceful with direct eye contact. Makeup is minimal and elegant. The mood is bright, soft, and refined. Aspect ratio 4:5.
3. Gift Surprise Moment
Create a lifestyle Christmas portrait of a young man sitting comfortably in a cozy living room chair. He is opening a wrapped gift on his lap and reacting with genuine surprise. Warm golden light spills from the box, lighting his face and hands. He wears a festive knit sweater and relaxed lounge pants. The scene feels candid and joyful. Aspect ratio 4:5.
4. Over-the-Shoulder Holiday Glam
Create a stylish Christmas portrait of a young woman captured mid-turn, looking back over her shoulder toward the camera. She wears a red knit sweater slightly draped off one shoulder and a Santa hat. Her hair is styled in smooth flowing waves. Expression is confident and polished. Lighting is soft with gentle highlights. Aspect ratio 4:5.
5. Classic Car Winter Portrait
Create a festive winter portrait of a young man leaning out of the window of a vintage car parked during snowfall. He smiles warmly at the camera. He wears a plaid winter coat, gloves, and a dark turtleneck. Snowflakes fall naturally through the scene, adding movement and depth. Aspect ratio 4:5.
6. Indoor Wreath Portrait
Create a cozy indoor Christmas portrait of a young woman standing beside a decorated tree. She holds a small green wreath with red accents at waist height. She wears a fitted turtleneck layered under a simple pinafore dress. Her posture is relaxed and welcoming. Lighting is warm and natural. Aspect ratio 4:5.
7. Snow Globe Magic Moment
Create a dreamy Christmas portrait of a young woman holding a softly glowing snow globe close to her chest. Inside the globe is a tiny winter cabin scene lit from within. She looks down at it with a gentle smile. Soft floating snow particles surround her. She wears elegant pearl accessories. Aspect ratio 4:5.
8. Playful Snow Day Scene
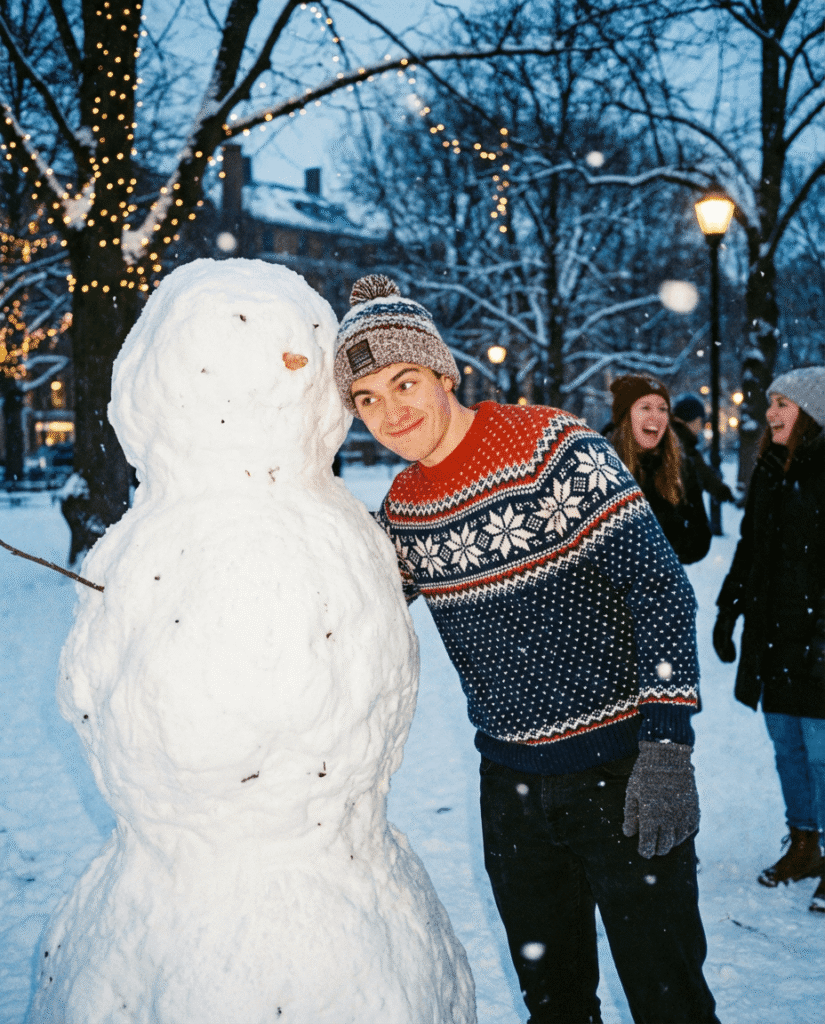
Create an outdoor Christmas portrait in a snowy park during early evening. A young man leans playfully toward a snowman and smiles with a mischievous expression. He wears a patterned Nordic sweater and winter accessories. The scene feels lighthearted and fun. Aspect ratio 4:5.
9. Hygge Lifestyle Portrait
Create a calm Christmas lifestyle portrait of a young woman seated on a small stool beside a softly lit Christmas tree. She wears loose neutral clothing with knit socks. She holds a few ornaments casually in her hands. Expression is relaxed and content. Lighting is warm and minimal. Aspect ratio 4:5.
10. Candlelit Window Scene
Create an intimate Christmas portrait of a young woman standing near a frosted window at night. She holds a lit candle that softly illuminates her face. Cool winter light contrasts with warm candle glow. Her expression is thoughtful and peaceful. Aspect ratio 4:5.
11. Fireplace Reading Portrait
Create a cozy Christmas portrait of a young man sitting on the floor near a fireplace, reading a book. Firelight casts warm highlights on his face. He wears a thick knit sweater and socks. The scene feels quiet and reflective. Aspect ratio 4:5.
12. Cozy Couple Holiday Moment
Create a natural Christmas couple portrait of two people sitting near a Christmas tree wearing matching holiday pajamas. They laugh together while holding warm drinks. The moment feels candid and intimate. Soft tree lights glow in the background. Aspect ratio 4:5.
13. Elegant Evening Christmas Look
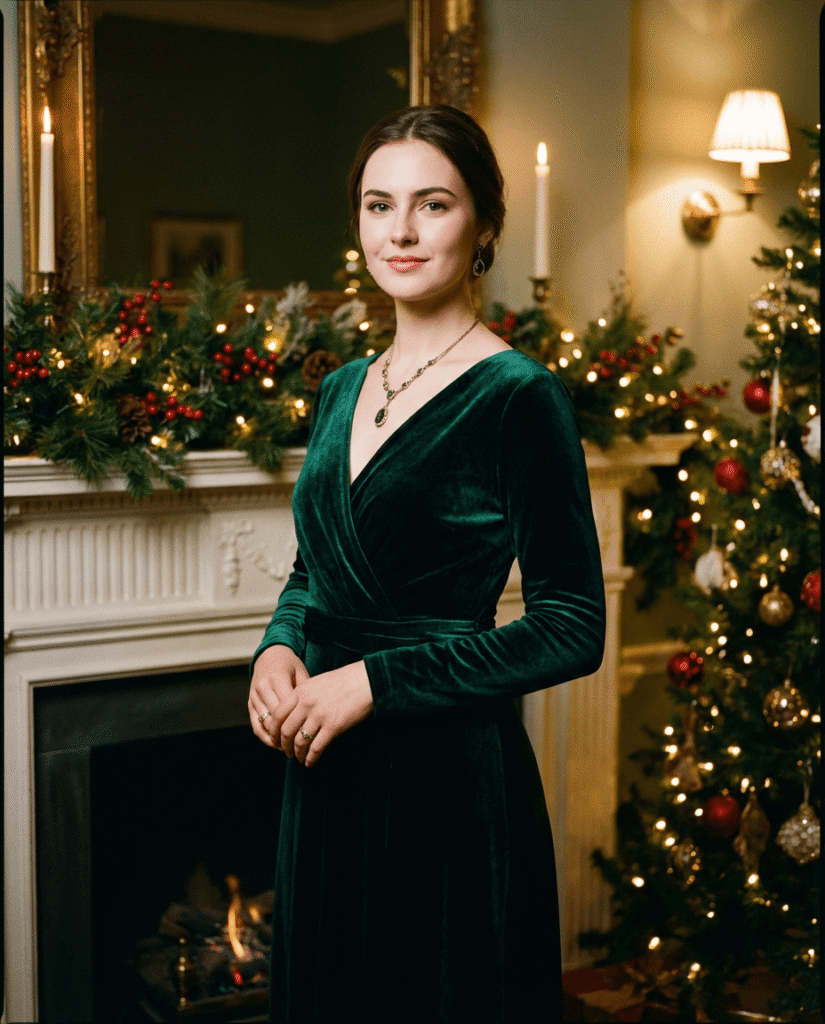
Create a refined Christmas portrait of a young woman dressed in a dark velvet evening outfit. She stands in front of softly lit holiday decorations. Her expression is poised and confident. Lighting is dramatic but soft. Aspect ratio 4:5.
14. Child Wrapped in Lights
Create a heartwarming Christmas portrait of a child sitting comfortably on a couch, gently wrapped in warm white string lights. The lights softly illuminate their face. Expression is joyful and curious. The background feels cozy and safe. Aspect ratio 4:5.
15. Winter Morning Balcony Portrait
Create a peaceful Christmas morning portrait of a young woman standing on a snowy balcony holding a warm mug. Steam rises gently. She wears a thick sweater and scarf. Snow falls lightly around her. Mood is quiet and reflective. Aspect ratio 4:5.
What Makes These Prompts Work
Natural language instead of technical clutter
Clear lighting direction
Emotional cues built into posture and expression
No over-styling or exaggerated effects
This is how you get portraits that feel real instead of AI-generated.
Conclusion
Good Christmas portraits are not about props. They are about mood, light, and subtle emotion.
Gemini can produce stunning results if you guide it with intention instead of overloading it with instructions. Use these prompts as-is, tweak gently if needed, and let the model handle the rest.
This is how you create holiday portraits people actually want to keep.
FAQs
1. Can I change outfits or colors in these prompts?
Yes. Change one detail at a time to avoid breaking realism.
2. Should I always upload a reference photo?
If you want facial accuracy, yes. For generic portraits, it is optional.
3. Why is 3:4 aspect ratio recommended?
It works best for portraits, prints, and social platforms.
4. Can these prompts work outside Christmas?
Yes. Remove holiday elements and keep lighting and emotion.
5. Do these prompts work on other AI models?
They are optimized for Gemini but can be adapted elsewhere.
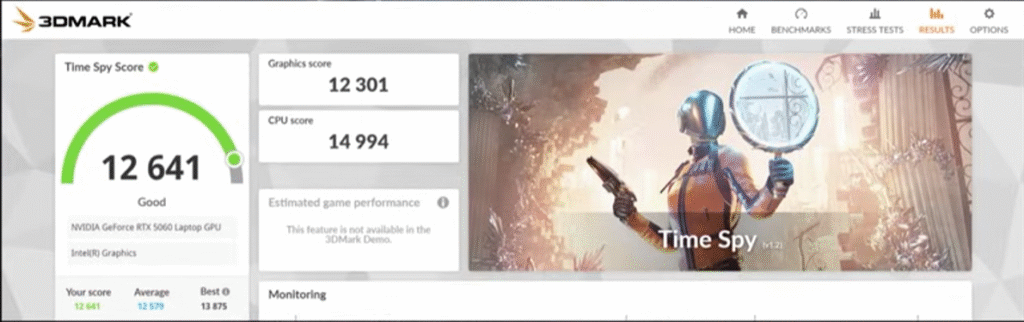
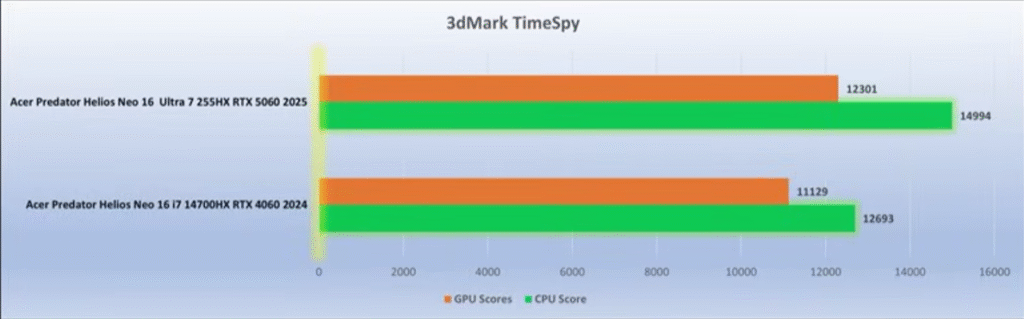
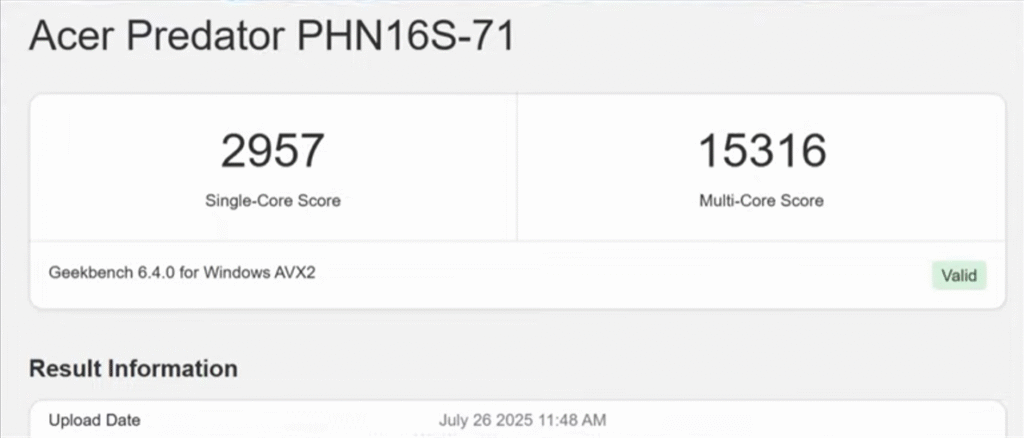
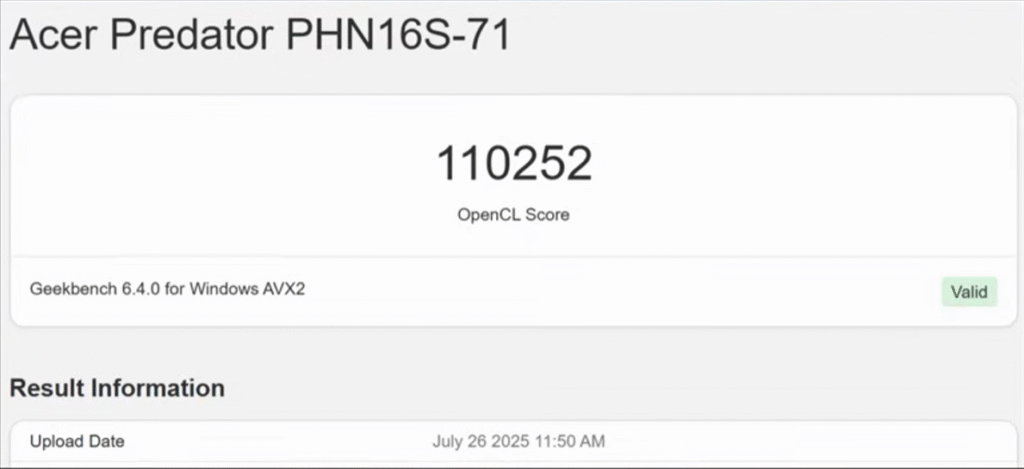
Acer finally fixed almost everything that held last year’s Helios Neo back. So here is Acer Predator Helios Neo 16S AI review. The 2025 Predator Helios Neo 16S AI is lighter, faster, cooler, and now ships with a true 2K OLED 240Hz panel — the kind of upgrade you normally don’t see in refresh cycles. After extensive testing across AAA titles, 2K gaming, productivity, thermals, and battery life, here’s the straight, reviewer-grade breakdown of what this machine does right, where it still lags, and whether it deserves your money.
In This Post
Quick Verdict (TL;DR)
If you want a lightweight, high-performance 16-inch gaming laptop with a flagship-level OLED display, strong CPU/GPU output, fast memory, and dramatically improved thermals, the Helios Neo 16S AI (2025) is worth buying. The only real compromises: 8GB VRAM, no webcam shutter, and occasional SSD write inconsistencies.
Last year’s Helios Neo was bulky, thermally inconsistent, and saddled with an unimpressive display. Acer cleaned up almost everything.
Slimmer chassis + metal lid and bottom panel
The 2025 model uses a metal top lid and metal base plate with a polycarbonate keyboard deck. Flex is minimal unless you intentionally push hard on the deck.
RGB Predator logo
The Predator logo glows in sync with keyboard lighting — a small but expensive-looking touch.
Improved exhaust & intake layout
Four exhaust vents (two rear, two sides) plus a large open-bottom intake dramatically improve airflow.
Hinge is smoother but not 180°
You can open it with one hand, but it stops short of fully flat.
Should You Buy It? Final Verdict for Gamers & Creators
This year, Acer finally delivered the Predator Helios Neo people wanted.
Buy it if you want:
A 2K OLED 240Hz panel
Strong 2K gaming performance
Major thermal improvements over 2024
Fast 6400MHz RAM
Lightweight chassis with big power
Skip it if you need:
More than 8GB VRAM
A hardware webcam shutter
Longer battery life for travel-heavy workflows
Final Verdict: The Acer Predator Helios Neo 16S AI (2025) is one of the best-balanced gaming laptops in its range, especially if you value OLED quality and consistent thermals. It’s an easy recommendation.